RC Geeks Blog

information
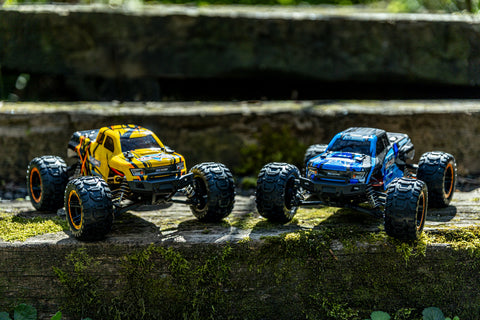
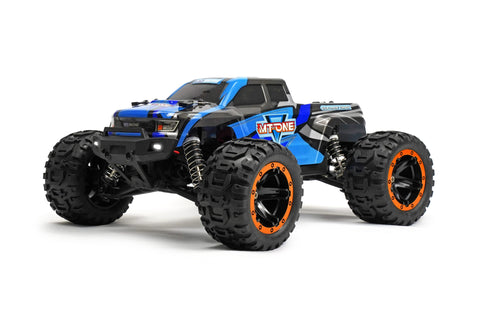
Buyers Guide 2026 - Best Remote Control Cars
information
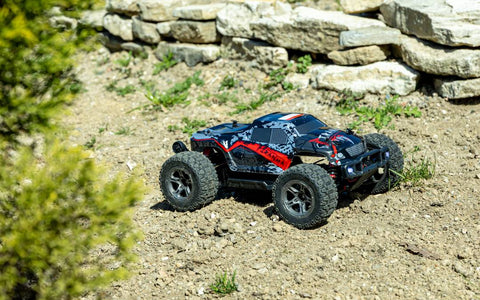
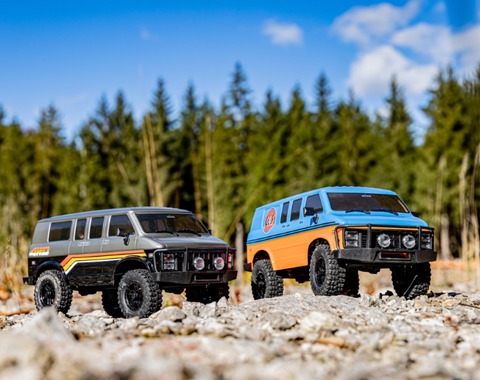
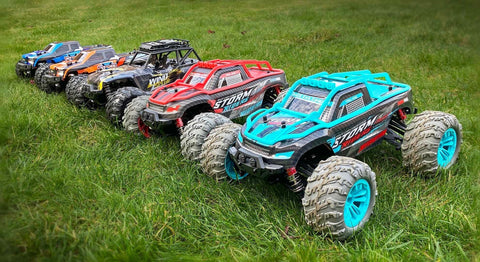
Our Favourite 1/16 Off Road RC Cars
-
 information
Buyers Guide 2026 - Best Remote Control Cars
-
 unboxing
Our Favourite 1/16 Off Road RC Cars
-
 reviews
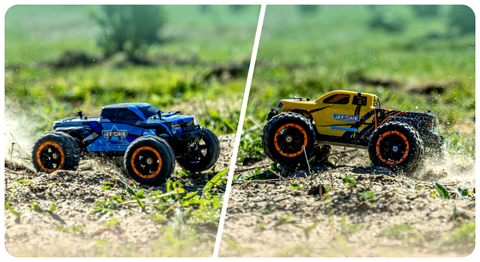
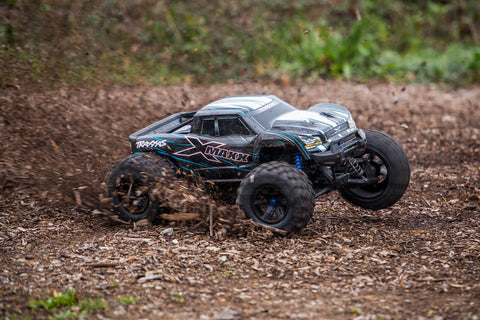
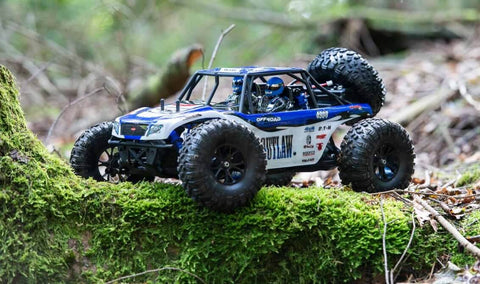
Our top RC Buggies
-
 information
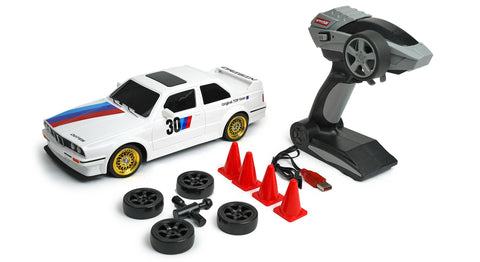
Top RC Cars for Kids - Ranked by age
-
 information
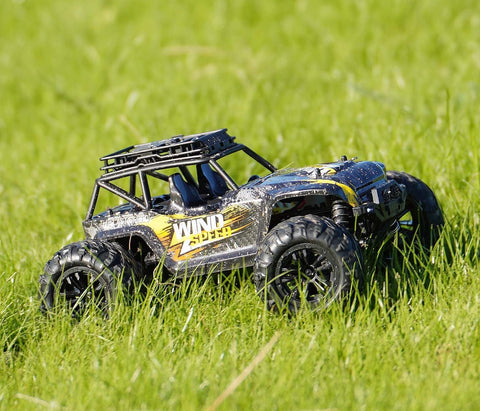
How to Repair Your RCG Wind Speed or Storm Rider
-
 latest
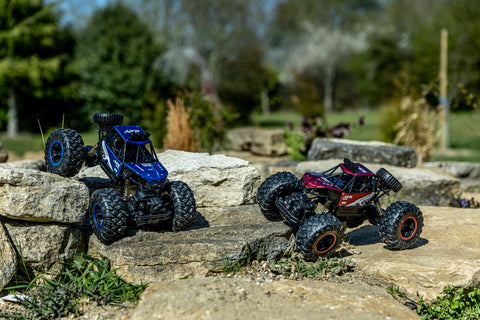
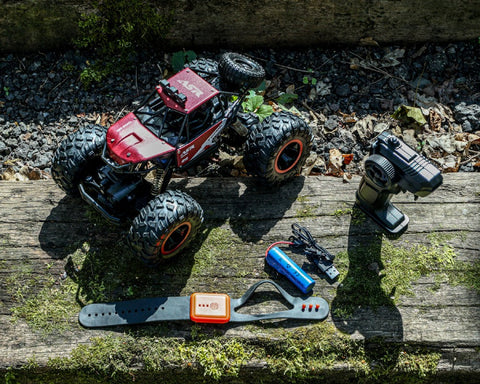
Our top 5 RC Crawlers
-
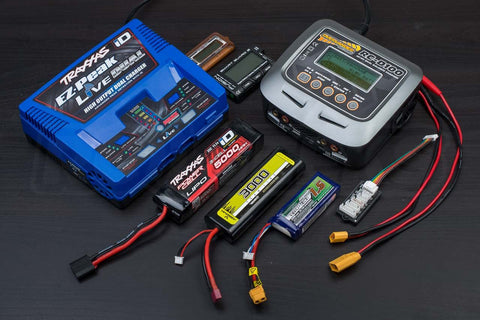 tutorial
How to charge RC batteries
-
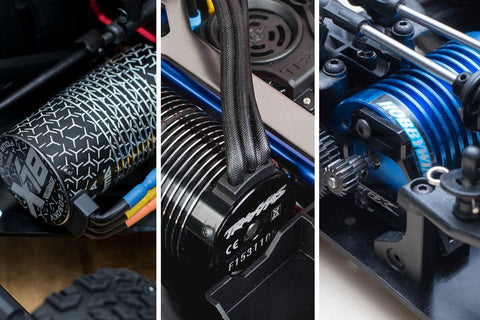 tutorial
What are brushless RC Cars?
-
 information
How fast does an RC car really go?